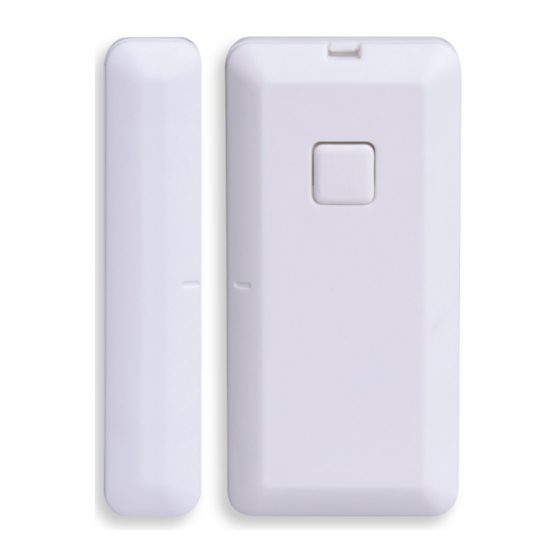
Texecom Premier Elite Micro Contact-W Mode D'emploi
Masquer les pouces Voir aussi pour Premier Elite Micro Contact-W:

Publicité

Les langues disponibles
  • FR

Les langues disponibles

Liens rapides

Installation Manual
Premier Elite Micro Contact-W
INS-741-2

Publicité

Table des Matières
loading

Sommaire des Matières pour Texecom Premier Elite Micro Contact-W

  • Page 1 Installation Manual Premier Elite Micro Contact-W INS-741-2...
  • Page 2: Table Des Matières

    Content 1.0 Learning the Device to the System ..................2.0 Magnet Positioning ........................ 3.0 Mounting Surfaces ......................... 4.0 Wireless Range Test ......................5.0 Mounting with Adhesive Pads ....................6.0 Mounting with Screws ......................7.0 Instruction Manuals ......................7.1 EN Introduction ........................
  • Page 3: Learning The Device To The System

    1.0 Learning the Device to the System INS741-2 3/25...
  • Page 4: Magnet Positioning

    2.0 Magnet Positioning INS741-2 4/25...
  • Page 5 INS741-2 5/25...
  • Page 6: Mounting Surfaces

    3.0 Mounting Surfaces *Range may be reduced. INS741-2 6/25...
  • Page 7: Wireless Range Test

    4.0 Wireless Range Test INS741-2 7/25...
  • Page 8 INS741-2 8/25...
  • Page 9: Mounting With Adhesive Pads

    5.0 Mounting with Adhesive Pads INS741-2 9/25...
  • Page 10: Mounting With Screws

    6.0 Mounting with Screws INS741-2 10/25...
  • Page 11 INS741-2 11/25...
  • Page 12 INS741-2 12/25...
  • Page 13 Warranty 2 year replacement warranty (excludes battery). As the Premier Elite Micro Contact-W is not a complete alarm system, but only a part thereof, Texecom cannot accept responsibility or liability for any damages whatsoever based on a claim that the Premier Elite Micro Contact-W failed to function correctly.
  • Page 14 Hereby, Texecom declares that the radio equipment type : GHAA1000 (Premier Elite Micro Contact-W), is in compliance with Directive 2014/53/EU. The full EU declaration of conformity is available here: http://www.texe.com/cert/doc/DEC-T00237.pdf INS741-2 14/25...
  • Page 15: Instruction Manuals

    Engineers menu. For all other firmware versions please refer to the Premier Elite 8XP-W/32XP-W Installation Manual. When using the Premier Elite Micro Contact-W on an Entry/Exit route, or a 24HR door, or where chime is required, the device attributes should be left at default “Always Awake”.
  • Page 16 A tamper state is signified by a pulsing orange LED (see Fig.2c). To enable the LED after the first 10 minutes, initiate walk test mode from the panel - see Premier Elite Control Panel Installation Manual. The magnet can be installed either side of the device. However greater sensitivity is achieved by placing the magnet to the left of the device and aligning the notches in the plastic (see...
  • Page 17: Fr Introducción

    firmware, veuillez consulter le Manuel d’installation du Premier Elite 8XP-W/32XP-W. Lors de l’utilisation du Premier Elite Micro Contact-W sur une voie d’entrée/de sortie ou une porte 24H, où lorsque le carillon est requis, les attributs du module doivent rester à...
  • Page 18 alors l’aimant du module jusqu’à ce que la LED devienne verte. Si la LED clignote en orange, cela indique un état Sabotage (voir la Fig.2c). Pour activer la LED après les 10 premières minutes, lancez le mode Test de marche depuis la centrale - consultez le Manuel d’installationde la centrale d’alarme Premier Elite.
  • Page 19: Nl Inleiding

    Installateurmenu bevindt. Voor alle andere firmwareversies verwijzen we naar de Premier Elite 8XP-W/32XP-W Installatiehandleiding. Wanneer u de Premier Elite Micro Contact-W gebruikt voor een Inloop- /Uitloop-route, een 24 uurs-deur of waar een deurbel vereist is, moeten de moduleattributen op de standaardinstelling “Altyd zenden” blijven staan.
  • Page 20 Bevestig de module en plaats de magneet zo dat de groeven gelijk staan tot de LED groen knippert om aan te geven dat de toestand stabiel is (zie Fig. 2a). Als de module LED rood knippert (zie Fig. 2b), plaats de magneet dan dichter bij de module tot de LED groen wordt.
  • Page 21: Es Introducción

    Premier Elite 8XP- W/32XP-W. Al utilizar el Premier Elite Micro Contact-W en una ruta de entrada/salida, en una puerta de 24 h o cuando el repique sea necesario, los atributos del dispositivo deben dejarse de forma predeterminada como “Siempre despier”.
  • Page 22 ”vacía”. Si es necesario volver a registrar el dispositivo en una zona o sistema diferente, se debe quitar la batería y volver a colocarla para iniciar el proceso de registro. 2. Posicionamiento del imán Monte el dispositivo y coloque el imán de modo que las muescas están alineadas hasta que el LED emita impulsos en color verde, que será...
  • Page 23: It Introduzione

    Engineers (tecnici). Per tutte le altre versioni del firmware, fare riferimento al manuale di installazione di Premier Elite 8XP-W/32XP-W. Durante l’utilizzo di Premier Elite Micro Contact-W in un percorso di entrata/uscita o su una porta 24H, oppure dove è necessario un campanello, gli attributi del dispositivo devono essere lasciati al valore predefinito...
  • Page 24 Il LED lampeggerà di luce rosa mentre comunica con il ricevitore. Il LED diventerà verde se l’apprendimento è andato a buon fine e il dispositivo attiverà il LED di posizionamento magnetico automaticamente per 10 minuti (vedere Fig. 1b). Se il LED diventa rosso (vedere Fig.
  • Page 25 Il test dell’intervallo wireless è disponibile per la prima ora dopo l’accensione o mentre il sistema è in modalità di attivazione; vedere il Manuale di installazione Premier Elite 8XP-W/32XP-W. Con il dispositivo in posizione, tenere premuto il pulsante che si trova sulla parte anteriore per 3 secondi (vedere Fig.

Table des Matières