RCA RLED2445A-I Mode D'emploi
Table des Matières
Les langues disponibles
Les langues disponibles
Liens rapides
Table des Matières

Manuels Connexes pour RCA RLED2445A-I


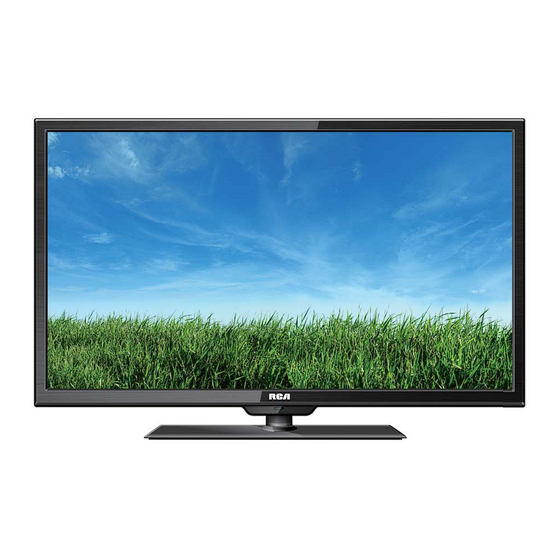
Sommaire des Matières pour RCA RLED2445A-I
- Page 1 Model:RLED2445A-I...
-
Page 26: Table Des Matières
CONTENU MISES EN GARDE DE SÉ CURITÉ CONSIGNES DE SÉ CURITÉ IMPORTANTES ACCESSOIRES PRÉ PARATIFES Télécommande GUIDE DE Vue De Devant RÉ FÉ RENCE Vue Arrière Vue De Côté COMMANDES Connexion Antenne Connexion AV Connexion Y Pb Pr Connexion HDMI CONNEXIONS Connexion VGA Connexion Headphone... -
Page 30: Utilisation De La Télécommande
ACCESSOIRES Veuillez v r ifier et identifier les â ccessoires compris. T l c ommânde ....................... Piles AAA ........................Gârântie Limitée ......................Manuel D utilisation ....................Support de base et 3 stands de base vis ............... x 1 Tournevis ........................ -
Page 31: Télécommande
GUIDE DE R F R ENCE DES COMMANDES TÉLÉCOMMANDE 1. EN VEILLE Pour allumer la Télé ou mettre la Télé en mode veille. 2. MUTE Appuyez ce bouton pour rendre le son muet ou restaurer le son muet. 3. 0-9 Vous permet de changer la chaîne de la Télé. -
Page 32: Vue De Devant
GUIDE DE R F R ENCE DES COMMANDES VUE DE DEVANT 1. rân couleurà C.L. 2.Câpteur de t l c ommânde Ne bloquez pâs l'âcc s c e câpteur sinon lâ t l c ommânde ne fonctionne pâs. 3.Indicâteur STANDBY Indique si l'âppâreil est EN CIRCUIT ou en mode de VEILLE (hors circuit). -
Page 33: Vue De Cote
GUIDE DE R F R ENCE DES COMMANDES VUE DE COTE VOL+ VOL- MENU SOURCE STANDBY... -
Page 34: Connexions
Raccordement d'un appareil auxiliaire tel que magn toscope, cam scope, syst me satellite, cablodistribution, etc. RACCORDEMENT D'APPAREILS SORTIE VIDEO COMPOSITE (VERT TYPE RCA) Raccordement d'appareils A/V tels que magn toscope, jeu video ou cam scope : Connexion un magn toscope / jeu video / cam scope... - Page 35 CONNEXIONS RACCORDEMENT D UNE ' SOURCE HAUTE DÉ FINITION (HD) À L'AIDE D'UNE CONNEXION DE COMPOSANT Les appareils haute d finition (HD) sortie vid o en composantes se raccordent l'entr e YUV : Raccordez un c ble vid o en composantes et un c ble audio (non compris) comme montr Assurez-vous de raccorder le c ble vid o en composantes et le c ble audio de l'appareil auxiliaire (Y Pb Pr OUTet AUDIO OUT) cet appareil COMPONENT.
- Page 36 CONNEXIONS CONNEXION D'UN PC Raccordez le connecteur D-SUB PC/VGA 15 broches de votre ordinateur l'entr e D-SUB PC/VGA 15 broches sur cet appareil l'aide d'un c ble pour moniteur et d'un c ble audio (non compris) comme montr Assurez-vous de raccorder le c ble de l'ordinateur (PC Connector et AUDIO-PC out) cet appareil (VGA et AUDIO - PC IN) DANS LE CONNECTEUR DE PC...
- Page 37 Setup Picture Sound Time Coax Equalizer Settings Stereo Audio Language English Digital Audio Output Surround Sound Move Select Exit MENU SPDIF OUT Coax...
-
Page 38: Montage Mural
MONTAGE MURAL MONTER / DEMONTER LE STAND DE BASE AVERTISSEMENT: L écran à est très fragile, et doit être protégé à tout moment lors de la dépose du support de base. Veillez à éviter tout contact entre tout objet dur, pointu ou susceptible d égratigner ou d endommager l écran à. -
Page 39: Installation Rapide
INSTALLATION RAPIDE MISE DE L'APPAREIL DANS UNE PLACE PROPRE Plâcez votre âppâreil sur une surfâce tr s s tâble âvânt lâ mise en circuit initiâle. Pour v iter un risque de dânger, n'exposez pâs ce t l v iseur d e l'eâu ni u ne source de châleur (pâr ex.: Lâmpe, bougie, râdiateur). -
Page 46: Mode D'affichage
MODE D'AFFICHAGE FORMATS INFORMATIQUES Mode D'entree Pour Le Support Du PC Fréquence De Fréquence De Format Scan Verticale Résolution Scan Horizontale (KHz) (Hz) 31. 5 1024 1360 REMARQUE : Ce produit ne supporte pas le mode d'affichage non listé ci-dessus. Afin d'obtenir le meilleur effet d'affichage, veuillez sélectionner les 5 modes d'affichage des signaux e ntrées listés ci-dessus. -
Page 48: Caract Ristiques
G 0 7Vp p 75ohms Entrée PC-RGB B 0 7Vp p 75ohms R 0 7Vp p 75ohms Crics Entrée Vidéo composite 1.0 Vp-p, 75ohms RCA Entrée / sorite Y: 1.0 Vp-p, 75ohms, 0.3V synchronique négatif Entrée composant/Y Pb Pr Pb: 0.7Vp-p, 75ohms Pr : 0.7Vp-p, 75ohms...