OVE E323 Manuel D'installation
Table des Matières
Liens rapides
5-15/16" [150]
12" [300]
OVE 2018-10-25
INSTALLATION MANUAL | MANUEL D'INSTALLATION | MANUAL DE INSTALACIÓN
27-7/16" [697]
18-1/2" [470]
9-15/16" [253]
Questions, problems, need help?
Call our customer service department at
1-866-839-2888, 9 a.m. - 5 p.m., EST, Monday - Friday
Questions, problèmes ou besoin d'aide?
Contactez notre service à la clientèle au
1-866-839-2888, du lundi au vendredi de 9h00 à 17h00 HNE.
Preguntas, problemas o necesita ayuda?
Llame a nuestro departamento de servicio al cliente al
1-866-839-2888, 9 am. – 5 pm., HDE, Lunes a Viernes.
Flush | Chasse | Descarga
1.1 gal / 1.6 gal | 4 L / 6 L
6" [152]
5/8" [16]
ø3-9/16" [90]
ø2-3/16" [55]
15-3/8" [390]
14-15/16" [380]
5-1/2" [140]
6-5/16" [161]
11-1/2" [292]
Measures: inch [millimeter]
Mesures: pouce [millimètre]
Medidas: pulgadas [milímetros]
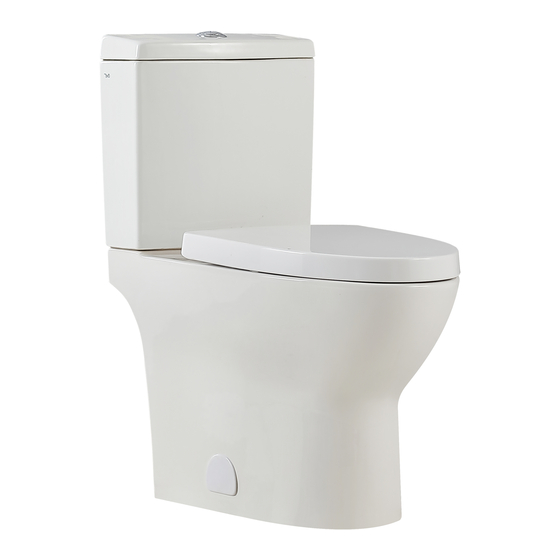
E323
Table des Matières

Manuels Connexes pour OVE E323


Sommaire des Matières pour OVE E323
- Page 1 E323 INSTALLATION MANUAL | MANUEL D’INSTALLATION | MANUAL DE INSTALACIÓN Flush | Chasse | Descarga 1.1 gal / 1.6 gal | 4 L / 6 L 6” [152] 5/8” [16] ø3-9/16” [90] ø2-3/16” [55] 15-3/8” [390] 27-7/16” [697] 5-15/16” [150] 14-15/16”...
- Page 2 PART LIST LISTE DES PIÈCES LISTA DE PIEZAS PART # QUANTITY # DE PIÈCE DESCRIPTION DESCRIPTION DESCRIPCIÓN QUANTITÉ PARTE # CANTIDAD Flush valve Valve de chasse Válvula de descarga Fill valve Valve de remplissage Válvula de llenado Toilet tank Cuve de toilette Tanque de agua Tank seal ring Bague pour cuve...
- Page 3 INSTALLATION INSTALLATION INSTALACIÓN A. Ensure that your water inlet pipe and your floor discharge drain are installed according to bellow drawing. These are minimum measurements, the toilet can be installed if your actual measurements are longer than below. TIP: Align 2 pieces of masking tape with the center of the drain, this will help you position the toilet in future steps. B.
- Page 4 INSTALLATION INSTALLATION INSTALACIÓN A. Position the toilet onto the floor flange, making sure the fixing bolts are aligned with the toilet’s holes. B. Using an adjustable wrench, reach beside the toilet and tightly screw the nut to the fixing bolts. Cover the hole with the provided cover. TIP: Soak the plastic cover in hot water (40°C) for 1min before installing it.
- Page 5 INSTALLATION INSTALLATION INSTALACIÓN A. Install the 2 nuts under the toilet to fix the tank. Warning: To prevent leaking, ensure that the nuts are strongly tightened when you install the flush tank onto the toilet. B. This toilet comes with a 1/2” water inlet fitting. If you require a 7/8” fitting, simply use this adaptor on top of the existing fitting. C.
- Page 6 INSTALLATION INSTALLATION INSTALACIÓN A. Apply silicone around the base of the toilet. Wait for 24h for it to dry. A. Appliquez du silicone tout autour de la base de la toilette. Laissez sécher pendant 24h. A. Aplique silicona alrededor de la base del inodoro. Espere 24h para que se seque. ADJUSTING THE WATER TANK LEVEL AJUSTEMENT DU NIVEAU DE L’EAU DE LA CUVE AJUSTANDO EL NIVEL DEL AGUA DEL TANQUE...
-
Page 7: Maintenance And Care
Product modification: OVE reserves the right to change, modify or improve the Products without obligation to incorporate such changes in Products previously sold or installed. Authority and Modification: The retail seller is not the agent of OVE and is not authorized to vary or modify the terms of the Limited Warranty. In addition, the retail seller cannot bind OVE or make any representations or promises about the Product that are binding on OVE. -
Page 8: Mantenimiento Y Cuidado
Garantía limitada: OVE le garantiza al comprador minorista original que dentro de un tiempo razonable después de la notificación de parte del comprador, OVE reparará o remplazará el producto, o cualquier pieza o componente del producto cubierto, distribuido por OVE el cual, a la satisfacción de OVE, ha resultado defectuosos en mano de obra o materiales, y el cual ha fallado durante el uso normal y dentro del periodo de garantía.