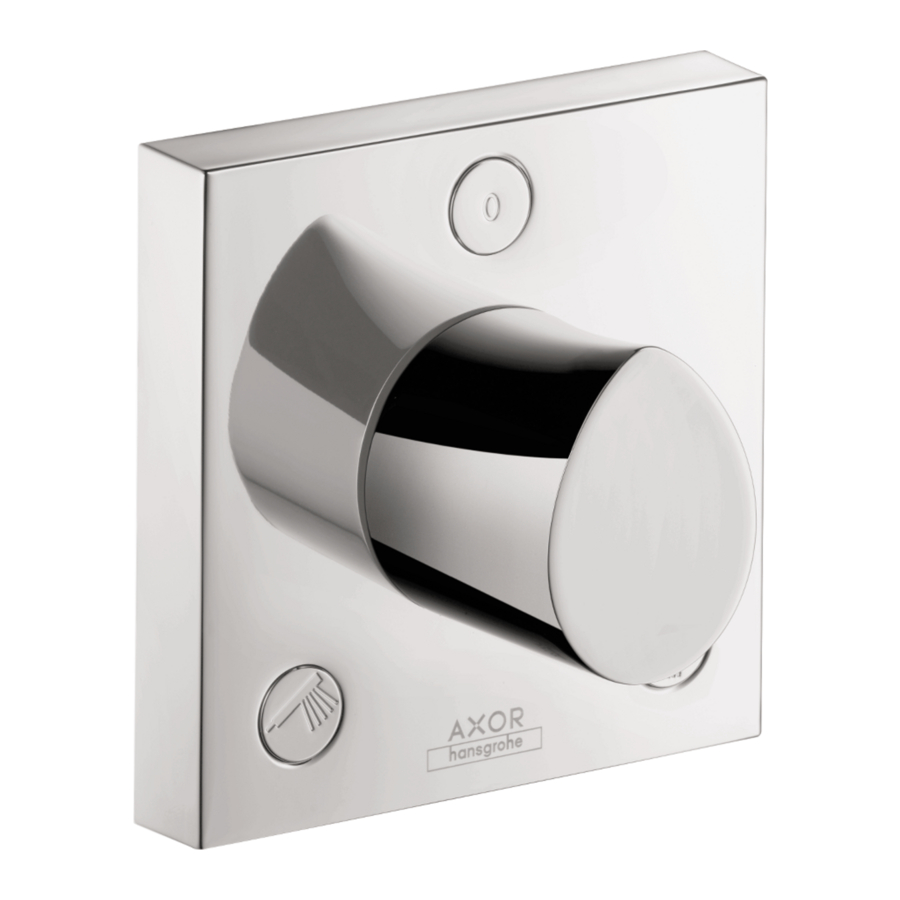
Hansgrohe AXOR Urquiola 119601 Série Instructions De Montage / Mode D'emploi / Garantie
Masquer les pouces
Voir aussi pour AXOR Urquiola 119601 Série:

Manuels Connexes pour Hansgrohe AXOR Urquiola 119601 Série


Sommaire des Matières pour Hansgrohe AXOR Urquiola 119601 Série
- Page 1 EN Installation / User Instructions / Warranty FR Instructions de montage / Mode d'emploi / Garantie ES Instrucciones de montaje / Manejo / Garantía Starck Starck 10932xx1 10972xx1 Starck Organic Starck Organic 12731001 12771001 Urquiola 11960xx1...
- Page 2 Installation Considerations • For best results, Hansgrohe recommends that • Trim kits 10932xx1 and 12731001 are for use this unit be installed by a licensed, professional with rough valves 15930181, 15981181, or 15984181 (not included). plumber. • Please read over these instructions thoroughly be- • To prevent scald injury, the maximum output tem- fore beginning installation. Make sure that you perature of the shower valve must be no higher have all tools and supplies needed to complete than 120°F. In Massachusetts, the maximum out- the installation. put temperature can be no higher than 112° F. • Trim kit 10972xx1 is for use with rough valve • Keep this booklet and the receipt (or other proof 10971181 (not included). of date and place of purchase) for this product in a safe place. The receipt is required should it be • Trim kit 12771001 is for use with rough valves necessary to request warranty parts. 10971181, 15974181, or 15977181 (not included). • Trim kit 11960xx1 is for use with rough valves 15974181 or 15977181 (not included). À prendre en considération pour l’installation • Pour de meilleurs résultats, Hansgrohe recom-...
- Page 3 Consideraciones para la instalación • Para obtener mejores resultados, la instalación • Unidades 10932xx1 y 12731001 requiere una debe estar a cargo de un plomero profesional pieza interior de válvula 15930181, 15981181, matriculado. o 15984181. • Antes de comenzar la instalación, lea estas • Para evitar escaldaduras, la máxima temperatura instrucciones detenidamente. Asegúrese de tener de salida de la válvula de la ducha no debe ex- las herramientas y los insumos necesarios para ceder los 120°F. En Massachusetts, la máxima completar la instalación. temperatura de salida de la válvula de la ducha no debe exceder los 112°F. • Unidad 10972xx1 requiere una pieza interior de válvula 10971181. • Mantenga este folleto y el recibo (u otro com- probante del lugar y fecha de compra) de este • Unidad 12771001 requiere una pieza interior producto en lugar seguro. El recibo se requiere de válvula 10971181, 15974181, o 15977181. en caso de ser necesario solicitar piezas bajo garantía. • Unidad11960xx1 requiere una pieza interior de válvula 15974181 o 15977181. Installation / Installation / Tools Required / Outiles Utiles / Instalación Herramientas Útiles...
- Page 4 4¾" 2½" ¾" 10972xx1 2⅝" ¾" 4¾" 10932xx1...
- Page 5 ⅞" ⅞" 2⅞" 2⅞"-4" 12771001 12731001 ⅜" 2¼" 11960001...
- Page 6 English Installation - 10932xx1 only 10932xx1 Cut the plaster shield so that it extends ¹⁄₁₆" outside the surface of the finished wall. Seal the wall around the plaster 10932xx1 shield with waterproof sealant. Failure to seal the wall may result in water damage. Install the slip connector. Cut the slip connector so that it extends 1" outside the 10932xx1 finished wall. 1 " Insert the spindle extension.
- Page 7 Français Español Installation - 10932xx1 Instalación - 10932xx1 seulement solamente Coupez le protecteur de façon à ce qu’une partie de Corte el protector de yeso de modo que sobresalga ¹⁄₁₆ po soit à l’extérieur de la surface du mur fini. ¹⁄₁₆" de la superficie de la pared terminada. Scellez le mur autour du protecteur à Selle la pared alrededor del pro- l’aide d’un agent d’étanchéité. tector de yeso con un sellador impermeable. Si le mur n’est pas scellé, l’eau pourrait éventuellement causer des Si no se sella la pared, pueden pro- dommages.
- Page 8 English Cut the spindle extension so that it extends 1⅛" 10932xx1 outside the surface of the finished wall. 1 ⅛ " Insert the spindle extension in the nut. 10932xx1 Position the escutcheon over the valve. 10932xx1 Install the nut. Secure the nut to the rough by rotating the sleeve clockwise. Do not over-tighten the nut.
- Page 9 Français Español Coupez la tige d’extension de façon à ce qu’une Corte el husillo de extensión de modo que sobresal- partie de 1⅛ po soit à l’extérieur de la surface du ga 1⅛ po de la superficie de la pared terminada. mur fini. Installez la tige d'extension sur l'écrou. Instale el husillo de extensión en la tuerca. Installez le rosace. Instale el embellecedor. Installez l'écrou. Instale la tuerca. Ne serrez pas l'écrou avec une force No apriete la tuerca en exceso. excessive.
- Page 10 English Place a small quantity of waterproof sealant on the 10932xx1 grout lines. Install the handle snap connector. Tighten the screw. 10932xx1 Press the handle firmly over the snap connector. Tighten the handle screw. Install the screw cover. Install the icons. 2 mm Installation - 10972xx1, 10972xx1 12731001, 12771001 12731001 12771001 Cut the plaster shield so that it extends ¹⁄₁₆" outside the surface of the finished wall.
- Page 11 Français Español Scellez le mur sur les lignes des joints à l’aide d’un Selle la pared en las líneas de lechada de cemento agent d’étanchéité. con un sellador impermeable. Installez le connecteur à encliqueter. Instale el conector a presión. Instale el mando. Installez la poignée. Serrez la vis à l'aide d'une clé hexagonale de 2 mm. Apriete el tornillo con una llave de 2 mm. Installez le cache-vis. Instale la tapa del tornillo. Installez les symboles. Instale los symboles. Installation - 10972xx1, Instalación - 10972xx1, 12731001, 12771001 12731001, 12771001 Coupez le protecteur de façon à ce qu’une partie de Corte el protector de yeso de modo que sobresalga ¹⁄₁₆ po soit à l’extérieur de la surface du mur fini. ¹⁄₁₆" de la superficie de la pared terminada.
- Page 12 English Seal the wall around the plaster 10972xx1 shield with waterproof sealant. 12731001 12771001 Failure to seal the wall may result in water damage. Install the slip connector. ⅜ " Cut the slip connector so that it extends ⅜" - ½" 10972xx1 - ½ " outside the surface of the finished wall. 12731001 12771001 Insert the spindle extension. Cut the spindle extension so that it extends ¾" - ⅞" ¾ " 10972xx1 outside the surface of the finished wall.
- Page 13 Français Español Scellez le mur autour du protecteur à Selle la pared alrededor del pro- l’aide d’un agent d’étanchéité. tector de yeso con un sellador impermeable. Si le mur n’est pas scellé, l’eau pourrait éventuellement causer des Si no se sella la pared, pueden pro- dommages.
- Page 14 English Insert the cut spindle extension in the nut. 10972xx1 12731001 12771001 Position the escutcheon over the valve. 10972xx1 12731001 Secure the nut to the rough by rotating the sleeve 12771001 clockwise. Do not over-tighten the nut. Place a small quantity of waterproof sealant on the 10972xx1 grout lines. 12731001 12771001...
- Page 15 Français Español Installez la tige d'extension sur l'écrou. Instale el husillo de extensión en la tuerca. Installez le rosace. Instale el embellecedor. Installez l'écrou. Instale la tuerca. Ne serrez pas l'écrou avec une force No apriete la tuerca en exceso. excessive. Scellez le mur sur les lignes des joints à l’aide d’un Selle la pared en las líneas de lechada de cemento agent d’étanchéité. con un sellador impermeable.
- Page 16 English Install the handle snap connector. 10972xx1 Press the handle into place. Install the screw. Install the screw cover. 12771001 12731001 only: Install the icons. 12731001...
- Page 17 Français Español Installez le connecteur à encliqueter. Instale el conector a presión. Installez la poignée. Instale el mando. Serrez la vis. Apriete el tornillo con una llave de 2 mm. Installez le cache-vis. Instale la tapa del tornillo. 12731001 seulement: Installez les autocollants. 12731001 solamente: Instale los symboles.
- Page 18 English Installation - 11960xx1 only 11960xx1 Cut the plaster shield so that it extends ¹⁄₁₆" outside the surface of the finished wall. Seal the wall around the plaster 11960xx1 shield with waterproof sealant. Failure to seal the wall may result in water damage. Install the slip connector. Cut the slip connector so that it extends ⁹⁄₁₆" outside ⁹ ⁄ ₁ ₆ 11960xx1 " the surface of the finished wall. Insert the spindle extension.
- Page 19 Français Español Installation - 11960xx1 Instalación - 11960xx1 seulement solamente Coupez le protecteur de façon à ce qu’une partie de Corte el protector de yeso de modo que sobresalga ¹⁄₁₆ po soit à l’extérieur de la surface du mur fini. ¹⁄₁₆" de la superficie de la pared terminada. Scellez le mur autour du protecteur à Selle la pared alrededor del pro- l’aide d’un agent d’étanchéité. tector de yeso con un sellador impermeable. Si le mur n’est pas scellé, l’eau pourrait éventuellement causer des Si no se sella la pared, pueden pro- dommages.
- Page 20 English Cut the spindle extension so that it extends ¾" outside 11960xx1 the surface of the finished wall. ¾ " Install the escutcheon. 11960xx1 Lightly lubricate the o-ring on the nut using white plumbers' grease. Install the nut. Do not overtighten the nut. Place a small quantity of waterproof sealant at the 11960xx1 grout joints.
- Page 21 Français Español Coupez la tige d’extension de façon à ce qu’une Corte el husillo de extensión de modo que sobre- partie de ¾ po soit à l’extérieur de la surface du mur salga ¾" de la superficie de la pared terminada. fini. Installez le rosace. Instale el embellecedor. Lubrifiez les fils sur l'écrou avec la graisse. Lubrique los hilos en la tuerca con grasa. Installez l'écrou. Instale la tuerca. Ne serrez pas l'écrou avec une force No apriete la tuerca en exceso. excessive. Scellez le mur sur les lignes des joints à l’aide d’un Selle la pared en las líneas de lechada de cemento agent d’étanchéité. con un sellador impermeable.
- Page 22 English Install the handle. 11960xx1 Inspect the alignment of the handle. 11960xx1 If it is not straight, remove and reposition it. Tighten the handle screw. 11960xx1 Install the screw cover. 2 mm...
- Page 23 Français Español Poussez la poignée sur l'écrou. Coloque el mando sobre la tuerca. Vérifiez l’alignement de poignée. Inspeccione la alineación del mando. S’il ne convient pas, retirez la poignée. Si no es satisfactoria, quite el mando. Tournez la poignée. Gire el mando. Remplacez la poignée. Reemplace el mando. Serrez la vis. Apriete el tornillo. Installez le cache-vis. Instale la tapa del tornillo..
- Page 24 Replacement Parts / Pièces détachées / Repuestos 95359xx0 26x2 96393000 35x2.5 97737000 96392000 98677xx0 97737000 95153xx0 95359xx0 95360xx0 94184000 95181000 95237xx0 97667000 96393000 95238000 95153000 96393000 95153000 94184000 98147000 26x3 95358000 94184000 98323000 98312001 98128000 13x2 98312001 98932000 96393000 95192xx0 xx = Colors / Couleurs / Acabados 95194xx0 00 = Chrome...
- Page 25 • Damage to the product caused by improper care or the use of improper cleaning agents is not covered by the warranty. • If a component of the product is damaged, replace it, as there is risk of injury. Conseil de nettoyage pour les produits Hansgrohe De nos jours le sanitaire moderne, la robinetterie et les douchettes se composent de matériaux très différents pour satisfaire à la demande concernant le design et la fonctionnalité. Pour éviter les détériorations et les réclamations, aussi bien pour l’utilisation que pour le nettoyage prochain, certains critères seront à prendre en considération.
- Page 26 • Les deteriorations imputables à un mauvais entretien ne peuvent être pris en considération par notre garantie. • Par l’action d’un nettoyant sur les revêtements déjà endommagé il se produit une aggravation des dégâts. Recomendación de limpieza para los productos de Hansgrohe Hoy en día, las griferías de baño y de cocina así como duchas modernas se componen de materiales muy distintos para satisfacer las exigencias del mercado respecto al diseño y la funcionalidad. Para evitar daños y reclamaciones hay que tener en cuenta ciertos aspectos tanto en el uso como en su limpieza. Para el cuidado de las griferías y las duchas en principio hay que seguir lo siguiente: • Usar sólo detergentes previstos específicamente para este campo de aplicación.
- Page 27 Hansgrohe will replace at no charge for parts only or, at its option, replace any product or part of the product that proves defective because of improper workmanship and/or material, under normal installation, use, service and maintenance. If Hansgrohe is unable to provide a replacement and repair is not practical or cannot be made in timely fashion, Hansgrohe may elect to refund the purchase price in exchange for the return of the product. LENGTH OF WARRANTY Replacement or repaired parts of products will be covered for the term of this warranty, as stated in the following two sentences. If you are a consumer who purchased the product for use primarily for personal, family or household purposes, this warranty extends for as long as you own the product and the home in which the product is originally installed. If you purchased the product for use primarily for any other purpose, including, without limitation, a commercial purpose, this war- ranty extends only (i) for 1 year, with respect to Hansgrohe & Commercial products, and (ii) for 5 years, with respect to Axor products. THIS WARRANTY DOES NOT COVER, AND HANSGROHE WILL NOT PAY FOR: A. Conditions, malfunctions or damage not resulting from defects in material or workmanship. B. Conditions, malfunctions or damage resulting from (1) normal wear and tear, improper installation, improper maintenance, misuse, abuse, negligence, accident or alteration; (2) the use of abrasive or caustic cleaning agents or “no-rinse” cleaning products, or the use of the product in any manner contrary to the product instructions; or (3) conditions in the home such as excessive water pressure or corrosion. C. Labor and other expenses for disconnection, deinstallation, or return of the product for warranty service (including but not limited to proper packaging and shipping costs), or for installation or reinstallation of the product. D. Accessories, connected materials and products, or related products not manufactured by Hansgrohe. E. Any Hansgrohe or Axor product sold for display purposes. F. Hansgrohe Water Filtration System is subject to a 1-year limited warranty. Warranty does not include replacement filters.
- Page 28 NEITHER ASSUMES NOR AUTHORIZES ANY PERSON TO CREATE FOR IT ANY OTHER OBLIGATION OR LIABILITY IN CONNECTION WITH THIS PRODUCT. HANSGROHE SHALL NOT BE LIABLE TO PURCHASER OR ANY OTHER PERSON FOR ANY INCIDENTAL,SPECIAL OR CONSEQUENTIAL DAMAGES,ARISING OUT OF BREACH OF THIS WARRANTY OR ANY IMPLIED WARRANTY (INCLUDING BUT NOT LIMITED TO ANY IMPLIED WARRANTY OF MERCHANTABILITY).