Sommaire des Matières pour Checkpoint Turn-O-Matic V2
- Page 1 USER MANUAL MODE D'EMPLOI BEDIENUNGSANLEITUNG MANUAL DEL USUARIO BRUKSANVISNING Wireless Pushbutton set V2 Funk-Fernbedienung satz V2 Trådlös Tryckknappsats V2 Copyright © 2004 Checkpoint Systems, Inc. Ref. 3800 2280, Ver 2004-06...
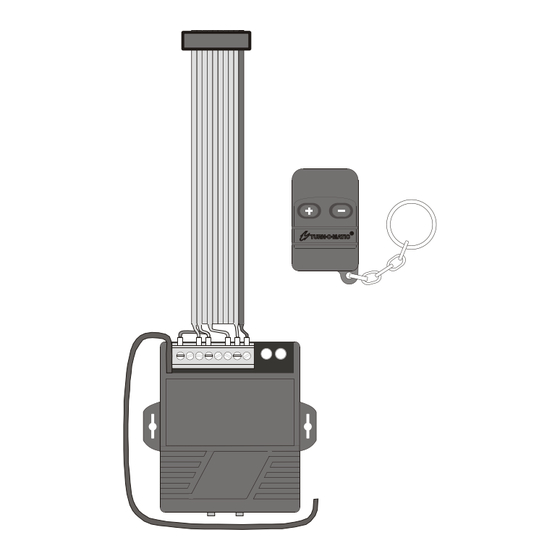
- Page 2 Product description; Wireless Pushbutton set V2 Description du produit; Produktbeschreibung; Funk-Fernbedienung satz V2 Descripción del producto; Produkt beskrivning; Trådlös Tryckknappsats V2 Art. 3809 0240 USA Part No. 3809024 Contents / Contient / Inhalt / Contenido / Innehåll Ref. 3800 2280, Ver 2004-06...
- Page 3 1. Mounting Bracket for Indicator with Wireless Pushbutton V2 Receiver 2. Plug-in RF Receiver for Wireless Pushbutton V2 3. Wireless Pushbutton V2 with Velcro strip Ref. 3800 2280, Ver 2004-06...
- Page 4 Indicator Bracket Mounting - Montage de la fixation de l'afficheur Befestigung der Anzeige-Halterung Colocación del soporte del indicador Montering av väggfäste Tablå Ref. 3800 2280, Ver 2004-06...
- Page 5 1. Remove the existing Indicator mounting bracket . 2. Install the included Indicator RF mounting bracket in it's place. Ref. 3800 2280, Ver 2004-06...
- Page 6 Installing Wireless Pushbutton Receiver Ref. 3800 2280, Ver 2004-06...
- Page 7 1. Disconnect power to the Indicator. 2. Turn the Indicator to access the back. If a V1 Receiver is installed, remove it from the plug-in connector on the Indicator. 3. Plug in the Receiver's ribbon cable connector from below with the cable's red stripe to the right.
- Page 8 System Start-up Démarrage du système System Start Inicio del sistema System Start Ref. 3800 2280, Ver 2004-06...
- Page 9 1. Enchufar el transformador en la Plug Adaptor in a suitable mains toma de corriente. power outlet. 2. El indicador mostrará la secuencia Indicator displays start sequence, de inicio, que arranca con la starting with firmware program versión del microprograma. version.
- Page 10 Ref. 3800 2280, Ver 2004-06...
- Page 11 5.Tomar un ticket del dispensador 5. Take a ticket from the dispenser for para arrancar con el número the system start number. indicado el sistema. 6. Hold the + Pushbutton pressed to 6.Mantener el botón + presionado fast forward the Indicator +10. para hacer avanzar el indicador 7.
- Page 12 Additional Wireless Pushbuttons, copy code to Receiver Art. 3809 0250, Wireless Pushbutton V2 with Velcro strip USA Part No. 3809025 #2 #1 Ref. 3800 2280, Ver 2004-06...
- Page 13 The codes in Additional Pushbuttons must be copied to the Receiver. Max. Pushbuttons per Receiver = 15. 1. Press Receiver switch #1 and hold for 3 seconds, the green LED will start blinking. Press the Pushbutton + button, green LED will turn off. 2.
- Page 14 Replacement batteries for Wireless Push Button Remplacement des piles de la télécommande Ersatz-Batterien für die Funk-Fernbedienung Sustitución de las pilas del pulsador inalámbrico Byte av batteri på trådlös tryckknapp Ref. 3800 2280, Ver 2004-06...
- Page 15 1. Battery type - Alkaline MN21 12V (1 required) Art. 3906 4100 (US Part No. 3906410). 2. Remove the screw from the back of the Wireless Pushbutton to open the case and change the battery. 3. Dispose of used batteries properly and safely! Ref.
- Page 16 All rights reserved. This publication may not be copied in whole or in part, or transferred to another medium, or translated into another language without the express written permission of Checkpoint Systems, Inc. is a registered trademark of Checkpoint Systems, Inc.
