True Innovations 323935 Instructions D'utilisation Et D'entretien

Manuels Connexes pour True Innovations 323935

Sommaire des Matières pour True Innovations 323935
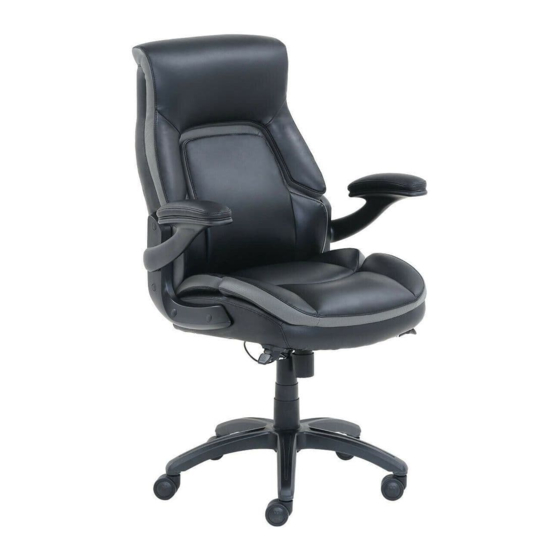
- Page 1 ITM. / ART. 323935 M# 51553 Manager Chair Fauteuil de direction Silla gerencial Use and Care Instructions Instructions d’utilisation et d’entretien Uso y cuidado Instrucciones...
- Page 2 IMPORTANT, RETAIN FOR FUTURE REFERENCE: READ CAREFULLY. IMPORTANT : À LIRE ATTENTIVEMENT ET À CONSERVER IMPORTANTE: CONSERVE PARA FUTURA REFERENCIA. LEA CUIDADOSAMENTE Attention: 1. Do not stand on the seat cushion. 2. For indoor use only. 3. Please do not expose to direct sunlight. 4.
- Page 3 For assistance with assembly or installation, parts and customer service, call: STOP 1-800-379-9773 (from US), Monday - Friday 6:00 AM - 5:00 PM Pacific Time ARRÊTEZ 1-866-789-1060 (from Canada), Monday - Friday 6:00 AM - 5:00 PM Pacific Time DETENER 0-800-051-6775 (from UK), Monday - Friday 2:00 PM - 1:00 AM UK Standard Time Montage, pièces et service à...
- Page 4 PARTS/PIÈCES/PARTES Casters X5 Base X1 Gas Lift with Telescoping Cover X1 Seat Plate X1 Roulettes X5 Base X1 Vérin pneumatique avec couvercle télescopique X1 Plaque de siège X1 Ruedas X5 Base X1 Elevador neumático y cubierta telescópica X1 Mecanismo del asiento X1 Left Arm X1 Right Arm X1 Seat Cushion X1...
- Page 5 Place the star base (B) upside down and insert 5 casters (A) into the holes on the star base (B). Placez la base en étoile (B) à l’envers et enfoncez les 5 roulettes (A) dans la base (B). Ponga la base en forma de estrella (B) con las patas hacia arriba e inserte las 5 ruedas (A) en los hoyos situados en la base (B).
- Page 6 Attach armrests (E1 & E2) to back cushion (G) by using four 32 mm small screws (H). Note: Do not tighten the screws completely. Fixez les accoudoirs (E1 et E2) au coussin du dossier (G) à l'aide de quatre petites vis de 32 mm (H). Remarque : Ne serrez pas complètement.
- Page 7 Attach armrests (E1 & E2) to seat cushion (F) by using four 32 mm small screws (H). Note: Tighten all the screws completely. Fixez les accoudoirs (E1 et E2) au coussin du siège (F) à l'aide de quatre petites vis de 32 mm (H). Remarque : Serrez maintenant toutes les vis.
- Page 8 Attach seat plate (D) to the bottom of the seat cushion (with the front of the seat plate facing the front of seat cushion). Attach by using 25 mm big screws (I) for the holes of the seat plate (D) and tighten screws. Note: Tighten the screws completely.
- Page 9 Insert levers (D1 & D2) of seat plate (D) to the pre-attached cable lever receivers on the underside of seat cushion (F). Push down the key on the receivers to pull out the levers. Note: Fix the cable for the seat plate into the plastic clips attached to the bottom of the seat cushion. Insérez les leviers (D1 et D2) de la plaque du siège (D) aux récepteurs des leviers à...
- Page 10 Position the assembled chair upright with the seat plate facing down. Insert the gas lift (C) into the center hole of the seat plate (D). Mettez le fauteuil assemblé en position verticale, la plaque du siège vers le bas. Insérez le vérin pneumatique (C) dans le trou situé au milieu de la plaque du siège (D).
- Page 11 Press the plastic caps (J) into armrest holes once all screws have been tightened. Mettez les capuchons en plastique (J) dans les trous des accoudoirs une fois les vis serrées. Ponga las tapas plásticas (J) en los hoyos de los brazos una vez que haya ajustado los tornillos.
-
Page 12: Régler La Hauteur Du Fauteuil
Operating instructions Mode d’emploi Instrucciones de uso Function Instruction - 1 To Adjust Seat Height: While seated, lean forward and reach under the right side of the chair to nd the lever. Lift the lever and raise your body up slightly to allow the chair to rise to the desired height. -
Page 13: Function Instruction
Function Instruction - 2 To Operate Tilt Lockout: While seated, reach under the left side of the chair to nd the lever. Pull up the lever and lean back to allow the chair to tilt backwards. To lock the chair in the upright or vertical position, sit upright and push the lever to the down position. - Page 14 Function Instruction - 3 To Adjust Tension on the Tilt: Reach under the front center of the chair, grasp the round knob (R) and turn it counter- clockwise to stiffen the tilt mechanism for a heavier user. Turn the knob (R) clockwise to loosen the tilt mechanism for a lighter user.
-
Page 15: Ajustement Des Accoudoirs
Function Instruction - 4 To Adjust Arms: This chair has an adjustable arm function so the arms can be pushed up or pulled down. The arms can be pushed up next to the back cushion so the chair can easily roll under a desk. Fonction - 4 Ajustement des accoudoirs : Cette chaise est munie d’accoudoirs ajustables qui... - Page 16 Function Instruction - 5 360˚ Swivel: 360˚ seat swivel. Fonction - 5 Rotation à 360 degrés : Rotation du siège à 360 degrés. Instrucciones de Funcionamiento - 5 Giro de 360˚: Giro de 360˚ del asiento.
- Page 17 fire, flood, or acts of God. In the event of a defect in material or workmanship covered by this warranty, True Innovations will repair or replace, at their discretion, without charge, the warranted furniture within a reasonable amount of time.
-
Page 18: Garantie Limitée
. S’assurer d’indiquer vos nom, adresse, numéro de téléphone de jour, modèle et numéro de bon de commande du produit, date d’achat et le détaillant où l’achat a été effectué. True Innovations exige que le reçu de vente original soit soumis avec toutes les demandes, afin de confirmer qu’il s’agit de l’acheteur initial, selon notre garantie écrite. -
Page 19: Garantía Limitada
Dios. En caso de algún defecto en el material o en la mano de obra, cubierto por esta garantía, True Innovations reparará o reemplazará, a su discreción, sin cargo, el mueble garantizado en el transcurso de un período razonable de tiempo. Nos reservamos el derecho de pedir que se nos devuelvan las partes dañadas cuando así...