Rubi HAUS RHS380L Installation
Liens rapides
INSTALLATION
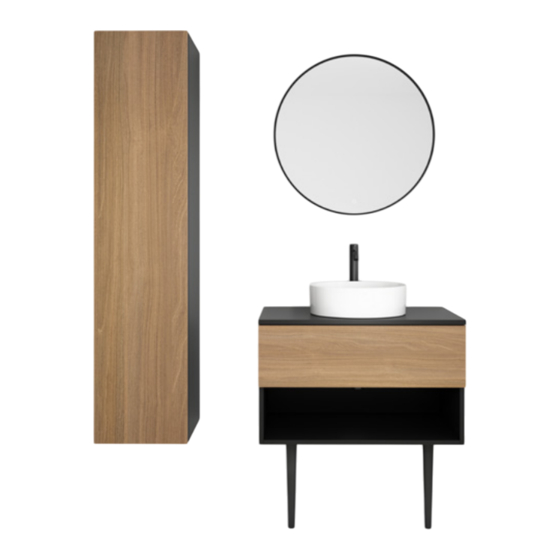
Image à titre indicatif seulement
Image for illustrative purposes only
PIÈCES / PARTS
01
02
03
04
05
Vérifiez que toutes les pièces sont dans
l'emballage.
Make sure you have all the parts in hand.
LISTE DES PIÈCES /
PARTS LIST
01 Porte / Door
02 Caisson / Cabinet
03 Crochets muraux / Wall hooks
04 Loquet bouton poussoir / Push to open
latch
05 Pentures / Hinges
Doc. # DR208-0 / 04-08-2021
ÉTAPES / STEPS
1676 mm
[66'']
Positionnement recommandé
Recommended positionning
INSTALLATION DU CAISSON / CABINET INSTALLATION
01
Déterminez le sens d'ouverture de porte souhaitée et placez le caisson en conséquence.
Determine the desired door opening side and position the cabinet accordingly.
INSTALLATION DES CROCHETS / WALL HOOKS INSTALLATION
Renforts / Stud
58mm
[2 1/4"]
Dessus du
caisson /
Top of the
cabinet
01
Installer les renforts horizontaux à la hauteur
désirée.
Install the horizontal wall studs at the desired
height.
340 mm
[13 3/8'']
02
Sur votre mur fini, marquez la position des trous.
Validez la mesure avec le produit en main avant
de visser.
On your finished wall, mark the position of the
holes. Validate the mesurment with the product
in hand before screwing.
02
À l'aide d'un tournevis ou de pinces, tirez sur le
crochet de métal afin de le faire sortir du support
de suspension mural.
Using a screwdriver or pliers, pull the metal hook
out of the suspension bracket.
HAUS - RHS380L
Mur fini /
Finished wall
03
Installez les crochets muraux sur les montants
horizontaux à l'aide des vis fournies.
Install the wall hooks on the horizontal studs
using the provided screws .
03
Si le crochet ne sort pas suffisamment, dévis-
sez légèrement la vis du bas sur le support de
suspension mural pour y faire sortir le crochet à
l'arrière du meuble.
Attention de ne pas dévisser complètement la vis
If the hook does not come out enough, lightly
unscrew the bottom screw on the bracket to pull
out the hook at the back of the cabinet.
Be careful not to unscrew the screw completely
www.rubi.ca - 1.888.988.RUBI (7824)

Manuels Connexes pour Rubi HAUS RHS380L

Sommaire des Matières pour Rubi HAUS RHS380L
- Page 1 05 Pentures / Hinges Be careful not to unscrew the screw completely Doc. # DR208-0 / 04-08-2021 www.rubi.ca - 1.888.988.RUBI (7824)
- Page 2 Insert the hinges in their brakets. Adjust the door to the cabinet Screw the push to open latch in place. Tighten the right screws to fix the hinges in place. Doc. # DR208-0 / 04-08-2021 www.rubi.ca - 1.888.988.RUBI (7824)