Publicité
Les langues disponibles
Les langues disponibles
Liens rapides
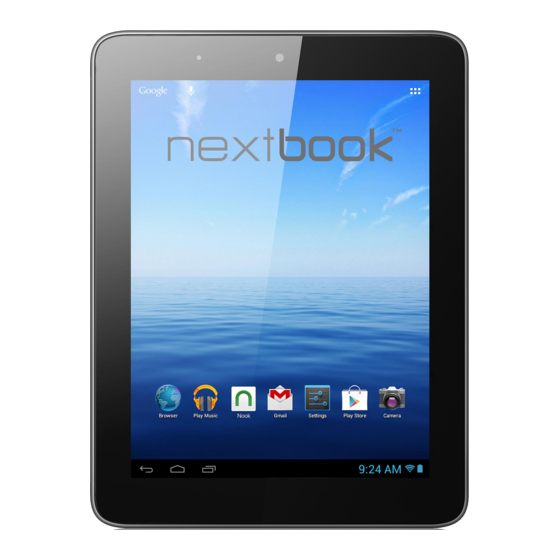
8" Capacitive Touch Android Tablet
A. VOL- – decrease the volume.
B. VOL+ – Increase the volume.
C. Power – Press and hold to turn on or off the unit;
briefly press to lock or unlock the screen.
D. Earphone socket – Connects to stereo
earphones.
E. DC-IN port – Connects to standard electric source
through the AC adaptor.
F. Micro USB Port – Connects to PC via USB cable;
connects to USB memory device, keyboard, or
mouse; connects to 3G dongle via USB host cable.
STEP 1 Charge the Battery
Plug the DC adaptor to the POWER-IN port of the
unit and the standard power socket to start
charging. It takes about 5 hours to fully charge the
battery. The charge indicator should light up in
orange once the battery is fully charged.
STEP 2 Transfer files
(1) Connect the device to computer with the supplied USB cable.
(2) Two new removable disk drives should appear on your computer standing for the internal
memory of the device and the memory card inside it.
(3) Copy files to the removable disk drive just as you would do to your hard drive.
Quick Start Guide
Accessories
USB Cable
Buttons & Ports
Step by Step to Get Started
DC Adaptor
G. Micro SD card slot
H. HDMI interface – Connects to
HD TV that supports HDMI
connection.
I.
Built-in webcam
J. Charging indicator– Lights
red during charging, and lights
orange as charging completes.
K. Touch Screen
L. Built-in Speakers
M. Rear camera lens
1
NX008HD8G
Ver.1.0
Pouch
Publicité

Sommaire des Matières pour Nextbook Premium 8 HD
- Page 1 Quick Start Guide NX008HD8G 8” Capacitive Touch Android Tablet Ver.1.0 Accessories USB Cable DC Adaptor Pouch Buttons & Ports G. Micro SD card slot A. VOL- – decrease the volume. H. HDMI interface – Connects to B. VOL+ – Increase the volume. HD TV that supports HDMI C.
- Page 2 (4) On your computer, left click the icon at the right bottom corner of the desktop and then click the pop-up message “Stop the USB Mass Storage Device – Drive (X).” to disconnect the device from the computer safely. STEP 3 Turn on the Unit Press and hold the Power button of the unit until you see the startup screen.
- Page 3 Add an Item To add a Home Screen item (shortcuts, widgets, Hold folders etc.), tap to display applications and down then hold your tap on an item and place it to the home screen. Change Wallpaper Move /Delete an Item Hold your tap on the Home screen until a Hold your finger onto an item until it is menu appear.
- Page 4 Pinch finger: You can zoom the page by Hold finger: In some browsers (File, pinching your finger. Music, Video, Photo, Web etc.), you can hold your finger on an item to display options. Pre-installed Applications The device has many useful applications pre-installed. You can tap the Application icon display them.
- Page 5 Enable Select Search Go forward to Wi-Fi or multiple files for files next screen Sort files Bluetooth Go to Root directory Go back to Thumbnail/ Go back one Copy/delete Settings previous list view directory level /paste files screen Managing 3 Party Applications Install Applications You can install applications manually following these steps:...
- Page 6 Managing Tasks Your Internet Tablet can handle multiple tasks at the same time. For example, you can view photos while listening to music. Multitasking is helpful but inefficient if too many tasks are running. In order to save system memory and enhance system performance, you can end some tasks that you don’t use at the moment.
- Page 7 NX008HD8G Guide de démurrage rapide 8” Tablette Android a Toucher Capacitif Ver.1.0 Liste des accessoires Cǎble USB Adaptateur CA Pochette Boutons et ports A. VOL+ F. Port micro USB – à un ordinateur par B. VOL- un câble USB. C. Bouton de mise en marche – appuyez et G.
- Page 8 (2) Deux nouveaux disques amovibles doivent apparaître sur votre ordinateur en tant que mémoire interne de l'appareil et sa carte mémoire interne. (3) Copiez des fichiers sur le disque amovible, comme vous le feriez sur votre disque dur. (4) Sur votre ordinateur, faites un clic gauche sur l'icône dans le coin inférieur droit du bureau, puis cliquez sur le message contextuel «...
- Page 9 Écran d'accueil étendu Faites glisser votre doigt horizontalement sur l'écran pour aller ay panneau de gauche ou de droite de l'écran d'accueil étendu. Ajouter un élément Pour ajouter un élément à l'écran d'accueil (raccourcis, widgets, dossiers etc.), appuyez sur pour afficher les applications puis maintenez l'élément enfonce et Maintenez placez-le sur l'écran d'accueil.
- Page 10 Conseils pour l'écran tactile Cliquer : Cliquer brièvement sur un élément permet d'ouvrir un fichier, une lien, une application ou une page. Faire glisser : Lorsque vous Faire glisser le doigt : Dans les différents navigateurs (Fichiers, Musique, regardez une vidéo ou écoutez de la Vidéo, Photo, etc), vous pouvez maintenir musique, vous pouvez faire glisser le...
- Page 11 Répertoire-r aider acine Sélection Supprimer Tri des affichage des miniatures/ Retour Multiple /Copier / fichiers affichage de la liste Déplacer activer le WiFi Tri des Sélection Rechercher Bluetooth Avance fichiers Multiple un Fichier Répertoire-r acine Supprimer affichage des Monter d’un Retour Préférences /Copier /...
- Page 12 Managing Tasks Afin de sauvegarder la mémoire du système et améliorer la performance du système, vous pouvez mettre fin à certaines tâches que vous n’utilisez pas pour l’instant. (1) Tapez sur l’application « Task Killer ». (2) Tapez sur la tâche à laquelle vous voulez mettre fin.


