
Manuels Connexes pour Babyletto Palma 15916


Sommaire des Matières pour Babyletto Palma 15916
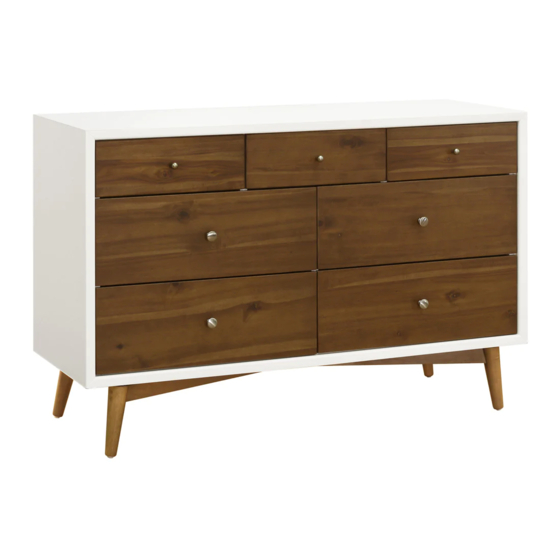
- Page 1 Item# 15916 Palma 7-Drawer Double Dresser Assembly Instructions Commode double à 7 tiroirs Palma Manuel d’assemblage revised 01NOV2019...
- Page 2 Thank you for purchasing a Babyletto nursery product! To ensure safe use of your product, please follow these assembly instructions closely. If you are missing parts or have any questions, please visit our website at www.babyletto.com/support. For assembly, use the Allen wrench if it is included in the hardware box. We also recommend using a Phillips head screwdriver (not included) to complete assembly.
- Page 3 PARTS • PIÈCES Not to Scale/Pas à l'échelle * E. Round handles (3) are pre-installed inside each drawer. * E. Les poignées rondes (3) sont préinstallées à l’intérieur de chaque tiroir. * F. Handles (4) are pre- installed inside each drawer. * F.
- Page 4 ASSEMBLY INSTRUCTIONS • INSTRUCTIONS D’ASSEMBLAGE (Front) (Avant) (Front) (Avant)
- Page 6 * We include the optional middle support if you intend to load the dresser with more than 150lbs of additional weight. * Nous incluons le support central optionnel à utiliser lorsque le meuble doit supporter une charge supplémentaire de plus de 68 kg (150 lb).
- Page 7 (REQUIRED) (OBLIGATOIRE) WARNING AVERTISSEMENT Children have died from On dénombre le décès d’enfants attribuable au renversement de pièces de mobilier. Afin furniture tipover. To reduce the de réduire les risques de renversement de risk of furniture tipover: pièces de mobilier : ALWAYS install tipover restraint TOUJOURS installer le dispositif provided.
- Page 8 2” x 4” wall stud Locate a 2” x 4” stud Montant de mur de 2" x 4" behind the wall, and make a mark. Localiser un montant de 2” x 4” derrière la surface du mur et faire une marque. Install the strap on the wall with long screw and washer.
-
Page 9: Important
Finish Terminé READ ALL INSTRUCTIONS BEFORE USING CHANGER TRAY IS NOT INCLUDED, SOLD THE PRODUCT. KEEP THE INSTRUCTIONS SEPARATELY. CHANGER TRAY M0219 OR FOR FUTURE USE. Recheck all screws and M0619 IS RECOMMENDED. bolts to be sure they are fastened securely. Do not overtighten. -
Page 10: Care And Cleaning
ONE YEAR LIMITED WARRANTY: We will replace any missing parts at the time of purchase or any defective item within a one year period from the date of original purchase. Please keep your receipt so that we may process your warranty request. - Page 11 Registering your product is even easier than before. You can register your product on our website at : www.babyletto.com/registrations IF YOU WOULD LIKE TO ORDER REPLACEMENT OR MISSING PARTS PLEASE VISIT US AT: WWW.BABYLETTO.COM/PARTS OR YOU CAN CONTACT US BY MAIL: BABYLETTO 8700 REX RD., PICO RIVERA, CA 90660...