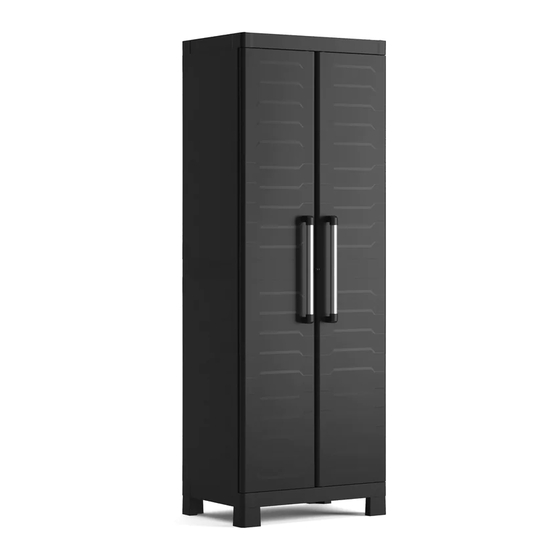
Keter DETROIT - TALL Instructions De Montage
DETROIT - TALL
EN - Assembly instructions FR - Instructions de montage DE - Montageanleitung IT - Istruzioni di montaggio ES - Instrucciones de
montaje PT - Instruções de montagem NL - Montagevoorschrift EL - Οδηγίες συναρμολόγησης PL -Instrukcja montażu ZH - 装配说
明 HU- Összeszerelési útmutató HR - Upute za montažu RO - Instrucțiuni de asamblare SL - Navodila za montažo BG - Инструкция
за монтаж RU - Инструкция по монтажу UA - Інструкція з монтажу CZ - Návod k montáži SK - Montážne pokyny LT - Montavimo
instrukcija LV - Uzstādīšanas instrukcija ET - Paigaldamise juhend
Keter Italia
Via Ing. Taliercio 2, 31024 Ormelle TV
Tel: +39 0422 745900, Fax +39 0422 745929

Manuels Connexes pour Keter DETROIT - TALL


Sommaire des Matières pour Keter DETROIT - TALL
- Page 1 DETROIT - TALL EN - Assembly instructions FR - Instructions de montage DE - Montageanleitung IT - Istruzioni di montaggio ES - Instrucciones de montaje PT - Instruções de montagem NL - Montagevoorschrift EL - Οδηγίες συναρμολόγησης PL -Instrukcja montażu ZH - 装配说...
- Page 2 EN - Assembly parts FR - Pièces à assembler DE - Montageteile IT - Parti da montare ES - Piezas de ensamble PT - Peças de montagem NL - Montagestukken EL - Ανταλλακτικα συνελευση PL - Części przeznaczone do montażu ZH - 装配零件 HU - Összeszerelendő részek HR - Dijelovi za montažu RO - Componente de asamblat SL - Deli, ki jih je treba sestaviti BG - Части, които...
- Page 3 EN - Keep this instruction manual with the product for future reference. Read the instructions carefully before assembly. FR - Conserver le manuel d’utilisation à proximité du produit pour de futures références . Lire attentivement la notice avant de commencer l’assemblage. DE - Bewahren Sie das Benutzerhandbuch in der Nähe des Produkts auf, damit Sie später jederzeit nachschlagen können.
- Page 4 BACK BACK BACK...
- Page 5 CLICK BACK...
- Page 6 BACK...
- Page 7 CDD/CDDL CDS/CDSL CDS/CDSL CDD/CDDL...
- Page 8 BACK...
- Page 9 BACK BACK BACK BACK BACK...
- Page 10 8x [3,9x16 mm] BACK...
- Page 12 4x [4,5x25 mm] BACK • To fix the handle to the door, insert the screws at the places marked "D" • Pour fixer la poignée à la porte, sélectionnez la position « D » et insérez la vis. • Um den Griff an der Tür zu befestigen, wählen Sie die Position „D“ und setzen Sie die Schraube ein. •...
- Page 13 CLICK BACK...
- Page 14 CLICK BACK EN -Fasten the cupboard to the wall (screws and anchors not included). FR - Fixer l’armoire au mur (vis et chevilles non incluses). DE -Befestigen Sie den Schrank an der Wand (Schrauben und Dübel sind nicht im Lieferumfang enthalten). IT - Fissare l’armadio a muro (viti e tasselli non inclusi). ES - Fije el armario en la pared (la dotación no incluye tornillos y tacos).
- Page 15 TRIBAC OPTION 1x SX 1x DX 6x [3,9x38 mm]...
- Page 16 IT - Scatole Tribac “S” non incluse. EN - Tribac “S” boxes not included. DE - Die Tribac “S”-Boxen sind nicht im Lieferumfang enthalten. FR - Boites Tribac “S” non comprises. ES - Las cajas Tribac “S” no están incluidas. NL - Dozen Tribac “S”...