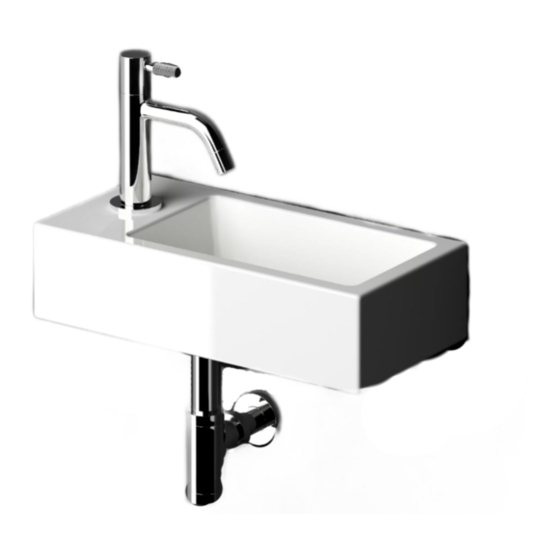
Sommaire des Matières pour clou Flush 3 CL/03.08032
- Page 1 Flush 3 composite CL/03.08032 - CL/03.13032 Montage instructies Installation instructions Notice de montage Montageanweisungen REV 02 09.12.2020...
- Page 2 - Clou b.v. can not be held responsible for - Clou b.v. kan niet verantwoordelijk worden the results of improper use, improper gesteld voor de gevolgen van onaangepast...
- Page 3 éventuellement Für andere Wände ist die verwendeten consolider le mur si nécessaire. regelnmittel an eigener Verantwortlichkeit, - Clou se réserve le droit pour tout und die Wand konnte Verstärkung changement technique ou optique par benötigen. rapport à la photo représentant le produit.
- Page 4 Gegenstände auf das Produkt passend ist. Gebruiksvoorschriften: zie ook de onderhoudsvoorschriften op www.clou.nl User’s instructions: See also the maintenance guides at www.clou.nl max. Instructions d’utilisation: Voyer aussi les instructions de maintenance sur www.clou.nl 15 kg Gebrauchsanweisungen: Sehen Sie auch die Wartungsanweisungen am www.clou.nl...
- Page 5 42,50...
- Page 6 1050...
- Page 7 Boor het kraangat met een speedboor (ø 35 mm). Boor het laatste stuk vanaf de bovenzijde. Drill the tap hole with a spade bit (ø 35 mm). Drill the last bit from the topside. Percer le trou de robinet avec une mèche speedbor (ø...
- Page 8 Duidt met potlood en waterpas de middellijn van de fontein aan. Mark with pencil and level the centreline of the wash-hand basin. Marquer avec un crayon et avec un niveau la ligne de centre du lave-mains. Markieren Sie mit einem Bleistift und mithilfe der Wasserwaage die Mittellinie des Handwaschbecken.
- Page 9 Boor de gaten (ø 8 & 10 mm). Drill the holes (ø 8 & 10 mm). Percer les trous (ø 8 & 10 mm). Bohren Sie die Löcher (ø 8 & 10 mm). ø 8 mm ø 10 mm Steek de pluggen in de gaten en schroef de stokschroef in de linkse plug, bevestig de beugel met de schroef.
- Page 10 Plaats de fontein op de stokschroef en beugel en bevestig met de kraagmoer en bouten. Place the wash-hand basin on the dowel screw and bracket and fix with the collar nut and bolts. Placer le lave-mains sur le goujon et le support et fixer avec l’écrou à...
- Page 11 Bevestig de afvoer (inbegrepen) in de fontein. Mount the drain (included) in the wash-hand basin. Fixer la bonde (inclus) dans le lave-mains. Befestigen Sie den Ablauf (im Lieferumfang enthalten) am Handwaschbecken. Bevestig de sifon (niet inbegrepen) aan de afvoer en aan de afvoerlei- ding.
- Page 12 Pas de hoogte van de afvoerplug aan zodat het water voldoende snel doorstroomt. Adjust the height of the drain cap in a way that the water runs of fast enough. Ajuster la hauteur du bonde de la crépine d’une manière dont l’eau court assez rapide.
- Page 16 Clou. Bath findings. Clou bv Thermiekstraat 1 NL-6361 HB Nuth T +31 (0)45 524 56 56 info@clou.nl www.clou.nl Looking for inspiration?


