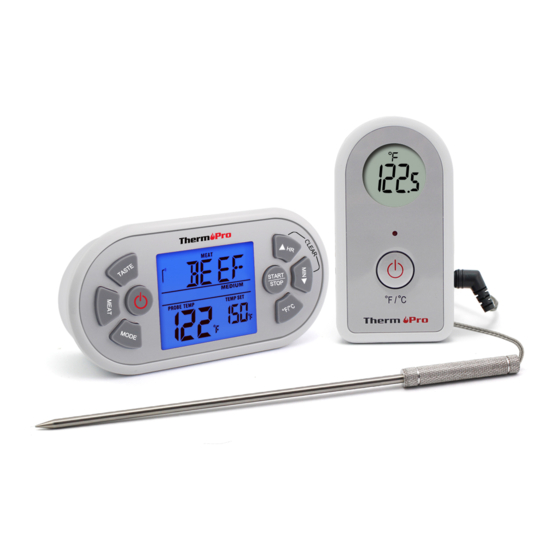
ThermoPro TP-21 Manuel D'utilisation
Thermomètre alimentaire à distance

Manuels Connexes pour ThermoPro TP-21


Sommaire des Matières pour ThermoPro TP-21
-
Page 8: Fonctionnalités Du Récepteur
Introduction rétroéclairage clignotera en bleu une fois que la tem- pérature augmente de 10°F (environ 5°C) à partir du Félicitations pour votre achat du Thermomètre de cuisson début de la cuisson et passera au vert lorsque la tem- à distance professionnel, un thermomètre alimentaire pérature arrive à... -
Page 9: Écran Lcd
que la température diminue de 10 degrés par seconde. Caractéristiques du transmetteur 5. MEAT – En mode thermomètre, appuyez pour Entr e du Capteur é sélectionner le type de viande, PROG (programme), GBEEF (bœuf haché), GPOUL (volaille hachée), BEEF (bœuf), VEAL (veau), CHCKE (poulet), PORK (porc), POULT (volaille), LAMB (agneau) et FISH (poisson). -
Page 10: Allumer/Éteindre L'unité
ºF/ºC/ . Le transmetteur affichera la température actuelle sur son écran LCD. c. Allumez le récepteur en appuyant sur le bouton d. Restez appuyer sur le bouton Mode du récepteur pendant 2 ou 3 secondes pour entrer en mode de synchronisation, qui durera pendant 60 secondes. -
Page 11: Mesurer La Température Avec Votre Propre Configuration
cuisson pour le type de viande sélectionné. RARE (bleu), 2. Suivez la procédure de synchronisation. MED RARE (saignant), MEDIUM (à point), MED WELL 3. Placez les steaks et les hot dog sur le grill. (cuit) et WELL DONE (bien cuit). 4. -
Page 12: Conseils Pratiques
Chronomètre 18. Nettoyez la sonde et séchez-la soigneusement après chaque utilisation. 1. Appuyez sur MODE pour sélectionner le mode minuterie. 19. Éteignez le transmetteur et le récepteur. La partie supérieure de l'écran affichera TIMER en petit et 0:00. Conseils Pratiques 2. -
Page 13: Nettoyage
Attention : Les changements ou modifications qui ne sont pas expressément approuvés par la partie responsable de ThermoPro garantit que ce produit est exempt de tout la conformité pourraient annuler l'autorité des utilisateurs défaut de pièce, de matériaux et de fabrication pendant une opérant sur l'équipement. -
Page 14: Service Client
Cette garantie vous donne des droits spécifiques légaux et certains droits supplémentaires selon l'état où vous êtes domicilié. Service Client Téléphone : 1-877-515-7797 (US & CA seulement ) E-mail : service@buythermopro.com Heures d'ouverture : Le lundi au vendredi de 8:00 à 18:00 heure locale.