Table des Matières
Publicité
Liens rapides
Getting Started
Démarrage
Guía de inicio
Para Começar
Make sure to read this manual before using the machine. Please keep it in hand for future reference.
Veillez à lire ce manuel avant d'utiliser la machine. Conservez-le à portée de main afin de pouvoir vous y reporter
ultérieurement.
Asegúrese de leer este manual antes de usar el equipo. Consérvelo a mano para utilizarlo como referencia en el futuro.
Certifique-se de ler este manual antes de utilizar a máquina. Mantenha-o à mão para consulta futura.
ENGLISH
FRANÇAIS
ESPAÑOL
PORT DO BRASIL
Publicité
Table des Matières

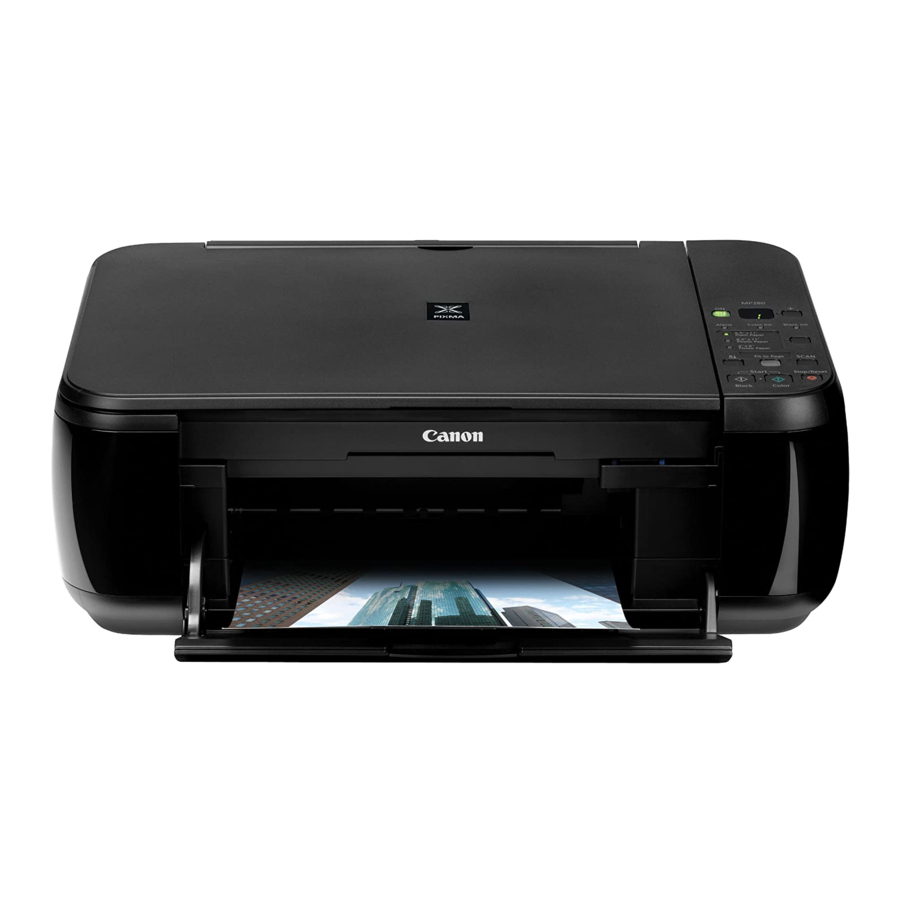
Manuels Connexes pour Canon PIXMA MP280


Sommaire des Matières pour Canon PIXMA MP280
- Page 1 ENGLISH FRANÇAIS ESPAÑOL PORT DO BRASIL Getting Started Démarrage Guía de inicio Para Começar Make sure to read this manual before using the machine. Please keep it in hand for future reference. Veillez à lire ce manuel avant d’utiliser la machine. Conservez-le à portée de main afin de pouvoir vous y reporter ultérieurement.
-
Page 2: Symbols Used In This Document
■ Symbols Used in This ■ Symboles utilisés dans ce ■ Símbolos utilizados en este ■ Símbolos Utilizados Neste Document document documento Documento Prohibited actions. Actions interdites. Acciones prohibidas. Ações proibidas. Instructions including important Instructions comportant des Instrucciones que incluyen Instruções que incluem information. - Page 3 On-screen manuals can be viewed on a computer. They are included on the Setup CD-ROM and are installed during the software installation. For some languages parts of the manual may be displayed in English. For details on opening the on-screen manuals, refer to page 25. Les manuels en ligne sont consultables sur un ordinateur.
- Page 4 ■ Contents ■ Sommaire ■ Contenido ■ Sumário 1 Preparation P.3 1 Préparation P.3 1 Preparación P.3 1 Preparação P.3 2 Install the FINE Cartridges P.9 2 Installation des cartouches FINE P.9 2 Instalación de los cartuchos FINE 2 Instale os Cartuchos FINE (FINE Cartridges) P.9 (FINE Cartridges) P.9 3 Load Paper P.15...
- Page 5 Remove all the protective materials and orange tape from the outside of the machine. • The tape and protective materials may differ in shape and position from what they actually are. • Do not install the machine where an object may fall on it. In addition, do not place any object on the top of the machine.
- Page 6 Make sure all the following items are supplied. 1. FINE cartridges (Color, Black) 2. Power cord Some accessories (1) and (2) are stored within the Paper Output Tray (A). Open the Paper Output 3. Manuals Tray to remove them. 4. Setup CD-ROM (containing the drivers, applications and on-screen manuals) •...
- Page 7 Lift the Scanning Unit (Cover) (B) and fix it with the Scanning Unit Support (C). Remove the orange tape (E) carefully. The protective material (F) is removed along with the orange tape. Close the Document Cover (D) and lift it with the Scanning Unit (Cover). Soulevez l’unité...
- Page 8 Lift the Scanning Unit (Cover) slightly (1) and fold the Scanning Unit Support (2), then gently close the Scanning Unit (Cover) (3). Soulevez légèrement l’unité de numérisation (capot) (1), repliez le support de l’unité de numérisation (2), puis refermez doucement l’unité de numérisation (capot) (3). Levante la unidad de escaneado (cubierta) ligeramente (1) y pliegue el soporte de la unidad de escaneado (2) para cerrar después la unidad de escaneado (cubierta) (3) con cuidado.
- Page 9 Insert the power cord into the connector on the left side at the back of the machine Press the ON button (G) and make sure that it lights green. and into the wall outlet firmly. • Do NOT connect the USB cable at this stage. •...
- Page 10 When it is necessary to power off the machine Lorsqu’il est nécessaire de mettre la machine hors tension Cuando sea necesario desconectar el equipo Quando for necessário desligar a máquina • The specification of the power cord differs for each country or region.
- Page 11 Lift the Scanning Unit (Cover) (A) and fix it with the Scanning Unit Support (D). Close the Document Cover (E) and lift it with the Scanning Unit (Cover). Soulevez l’unité de numérisation (capot) (A) et fixez-la à l’aide du support de l’unité de numérisation (D). Fermez le couvercle du scanner (E) et soulevez-le en même temps que l’unité...
- Page 12 The FINE Cartridge Holder (F) moves to the Follow the next procedure to insert the Open the Ink Cartridge Locking Cover on the right side. installation position. Black and Color FINE Cartridges into their corresponding slots Pinch (G) firmly and pull up the cover. If the FINE Cartridge Holder does not move, make sure that the machine is turned on.
- Page 13 After removing the Black FINE Cartridge from its box, pull the orange protective tape (H) in the direction of the arrow and remove it carefully. • Handle the FINE Cartridges carefully. Do not drop or apply excessive pressure to them. •...
- Page 14 Place the Black FINE Cartridge into the right slot Push down of the Ink Cartridge Locking Cover until you hear a click to close it completely. View the Ink Cartridge Locking Cover straight on and check that it is locked correctly (not at an angle). •...
- Page 15 Insert the Color FINE Cartridge into the left FINE Cartridge Holder in the Lift the Scanning Unit (Cover) slightly (1) and fold the Scanning Unit Support (2), same way as the Black FINE Cartridge. then gently close the Scanning Unit (Cover) (3). Insérez la cartouche FINE Couleur dans le support de la cartouche FINE de Soulevez légèrement l’unité...
- Page 16 Make sure that the LED (I) changes as shown in the illustration and go to the next • Once you have installed the FINE Cartridges, do not remove them unnecessarily. step. • If the Alarm lamp (J) lights orange, make sure that the FINE Cartridges are correctly installed. •...
- Page 17 Move the Paper Guides Load paper in the center Slide the left and right Paper Guides against both (B) to both edges. of the Rear Tray (C). edges of the paper. Make sure that the height of the paper stack does not exceed the line (D).
- Page 18 Do not connect the USB cable yet. Ne branchez pas encore le câble USB. Aún no conecte el cable USB. Não conecte o cabo USB ainda. • To use the machine by connecting it to a computer, software • Pour pouvoir contrôler la machine à partir d’un ordinateur, including the drivers needs to be copied (installed) to the le logiciel contenant les pilotes doit être copié...
- Page 19 □ If you connect the machine via USB cable before installing the software: □ Easy-WebPrint EX □ Si vous connectez la machine avec un câble USB avant d’installer le logiciel : □ Easy-WebPrint EX □ Si se conecta el equipo mediante un cable USB antes de instalar el software: □...
- Page 20 Press the ON button (A) to TURN OFF THE Turn on the computer, then insert the Setup CD-ROM into the CD-ROM drive. MACHINE. Operating noise may continue for up to 40 seconds until the If you are using Windows, the setup program starts automatically. machine turns off.
-
Page 21: Windows 7/Windows Vista
Windows 7/Windows Vista Click Run Msetup4.exe on the AutoPlay screen, then click Yes or Windows XP Continue on the User Account Control dialog box. If the User Account Control dialog box reappears in following steps, click Yes or Continue. Cliquez sur Exécuter Msetup4.exe (Run Msetup4.exe) dans l’écran Exécution automatique (AutoPlay), puis cliquez sur Oui (Yes) ou Continuer (Continue) dans la boîte de dialogue Contrôle de compte d’utilisateur (User Account Control). - Page 22 Select your place of residence, then click Next. Select a country or region, then click Next. • If the Select Language screen appears, select a language, then click Next. Sélectionnez votre lieu de résidence et cliquez sur Suivant (Next). Sélectionnez un pays ou une région, puis cliquez sur Suivant (Next). •...
- Page 23 Click Easy Install. Click Install. The drivers, application software, and on-screen manuals are installed. Follow any on-screen instructions to proceed with the software installation. • If you want to select particular items to install, click Custom Install. Cliquez sur Installation rapide (Easy Install). Cliquez sur Installer (Install).
- Page 24 □ USB Port □ Necessary Information for the User Registration □ Port USB □ Informations nécessaires pour l’enregistrement utilisateur □ Puerto USB □ Información necesaria para el registro de usuario (User Registration) □ Porta USB □ Informações necessárias para o Registro do Usuário (User Registration) Serial No.
- Page 25 □ If the Extended Survey Program screen appears □ Si l’écran Extended Survey Program apparaît □ Si aparece la pantalla Extended Survey Program □ Se a tela do Extended Survey Program aparecer Click Exit to complete the installation. For Macintosh It is necessary to restart the computer before scanning using the Operation Panel on the machine for the first time.
- Page 26 Advanced Guide. Solution Menu EX starts when clicking Passez à la page 25 pour country or region of OK in the Canon Solution Menu EX purchase. plus d’informations sur Sous Windows 7 et Windows Vista SP1 ou version dialog.
- Page 27 Solution Menu EX Use the Operation Panel on the machine to print your own items easily. Various application software are installed on Solution Menu EX is a gateway to functions and information that allow you to make full the computer along with the drivers. You can use of the machine! For example, print creative items by correcting/enhancing •...
- Page 28 Easy-WebPrint EX For details on Solution Menu EX and Easy-WebPrint EX, refer to the on-screen manual: Basic Guide. Use Easy-WebPrint EX to print web pages in Internet Explorer easily. Some of its features include: • Printing a web page by reducing its size to fit the paper width automatically without cropping edges. •...
- Page 29 Load A4 or Letter-sized plain paper. Open the Document Cover (C), then place the document face-down and align it with the Alignment Mark (D). Make sure that the Paper Output Tray (A) and the Output Tray Extension (B) are open. If printing starts while the Paper Output Tray is closed, it will automatically open.
- Page 30 Close the Document Cover, then press the Black button (F) or the Color button (G). For the procedure to copy on paper other than plain paper, refer to "Copying" in the on-screen manual: Advanced Guide. Copying will start. Do not open the Document Cover until copying is complete. Remove the document after printing. Fermez le couvercle du scanner, puis appuyez sur le bouton Noir (Black) (F) ou Couleur Pour consulter la procédure de copie sur du papier autre que (Color) (G).
- Page 31 If printing starts while the Paper Output Tray is closed, it will automatically open. Start Solution Menu EX from the Canon Solution Menu EX icon This section explains how to print borderless photos using 10 x 15 cm (4" x 6") Photo Paper on the desktop (Windows) or on the Dock (Macintosh), click Photo Plus Glossy II.
- Page 32 Select the image you want to print, then click Layout/ Click Print. For more information, refer to the on-screen Print. If you are using Windows, printing will start. manual: Advanced Guide. If you are using Macintosh, click Print on the Print dialog box to When a photo is selected, the number of copies is set to "1".
- Page 33 After a period of use, the inside of the machine may become stained with ink. To avoid staining your hands or clothes with ink, it is recommended that you clean the Ink Cartridge Locking Cover (A) and the inside of the tray (B) with a facial tissue or the like as required.
-
Page 34: General Specifications
Approx. 450 (W) X 335 (D) X 153 (H) mm • Windows: Uninstall software bundled with the Canon inkjet printer before * With the Paper Support and Paper Output Tray retracted. upgrading from Windows Vista to Windows 7, then, install the bundled Weight software again. -
Page 35: Spécifications Générales
• Windows : désinstallez les logiciels fournis avec l’imprimante à jet d’encre * Support papier et bac de sortie papier rentrés. Canon avant de mettre à niveau Windows Vista vers Windows 7, puis Poids réinstallez les logiciels fournis. Environ 5,5 kg (environ 12,0 lb) •... -
Page 36: Especificaciones Generales
Windows: desinstale primero el software incluido con la impresora de 17,8 (An) x 13,2 (Pr) x 6,0 (Al) pulg. aprox. inyección de tinta Canon antes de actualizar de Windows Vista a Windows 7 450 (An) x 335 (Pr) x 153 (Al) mm aprox. -
Page 37: Especificações Gerais
Windows: desinstale o software fornecido com a impressora jato de tinta * Com o Suporte de Papel e a Bandeja de Saída de Papel retraídos. Canon antes de fazer a atualização do Windows Vista para o Windows 7 e, Peso em seguida, instale o software novamente. - Page 38 6390 Dixie Road, Mississauga, Ontario, L5T 1P7 Canada www.canon.ca Les cartouches d’encre suivantes sont compatibles avec cette machine. CANON LATIN AMERICA INC. Este equipo es compatible con los cartuchos de tinta siguientes. 703 Waterford Way Suite 400, Miami, FL 33126 U.S.A.